There are about a million ways to make potatoes, and there are about a million other ways to preserve potatoes. While I am itching to dehydrate, today’s mission was canning.
Potatoes have always been an integral part of my diet. I remember my Mamaw frying potatoes with almost every meal. Mashed potatoes weren’t a staple in the holler, but fried ‘taters sure were. It took me a long time to perfect my fried ‘tater game, but I finally did, and that’s when I started looking to perfect my mashed ‘tater game.
The answer? Canned potatoes.
Maybe it is because the potatoes are already cooked. Maybe it is because soaking them during prep removes most of the starch. Maybe it is a mystery of the universe with no real reason — but mashed potatoes that started out as canned potatoes are 100% better than potatoes you boil forever and a half on the stove top.
So, if you’re looking to level up your mashed potatoes, or you’re looking to can potatoes, here’s some tips.
Step One: Pick any Lord of the Rings movie and turn it on. It has to be the extended version of whichever one you pick, though. This is going to take a while, and you need to be entertained.
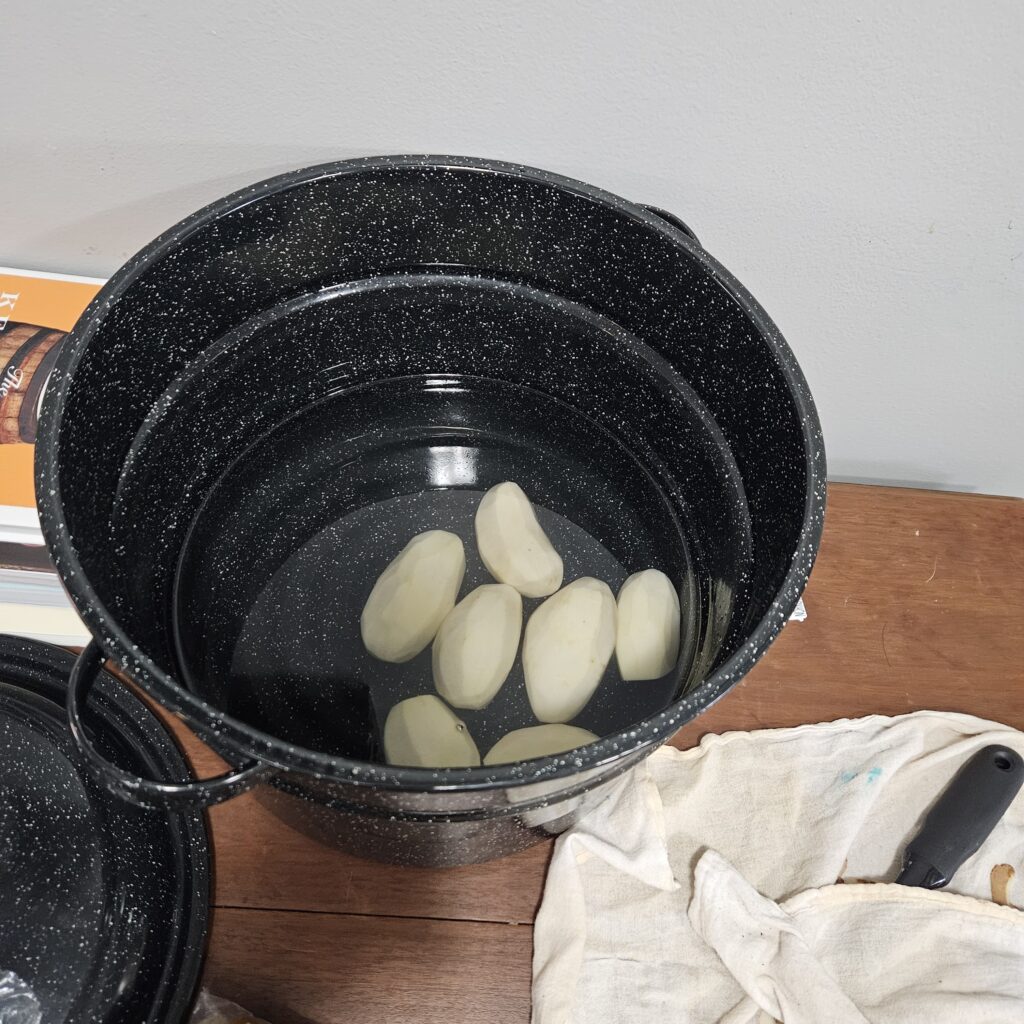
Step Two: Peel peel peel your fingertips off. Soak the results in some salt water. Like so:

(Side note: These are basic white potatoes, but I’ve also had very good luck with gold potatoes. Mashed gold potatoes are freaking amazing.)
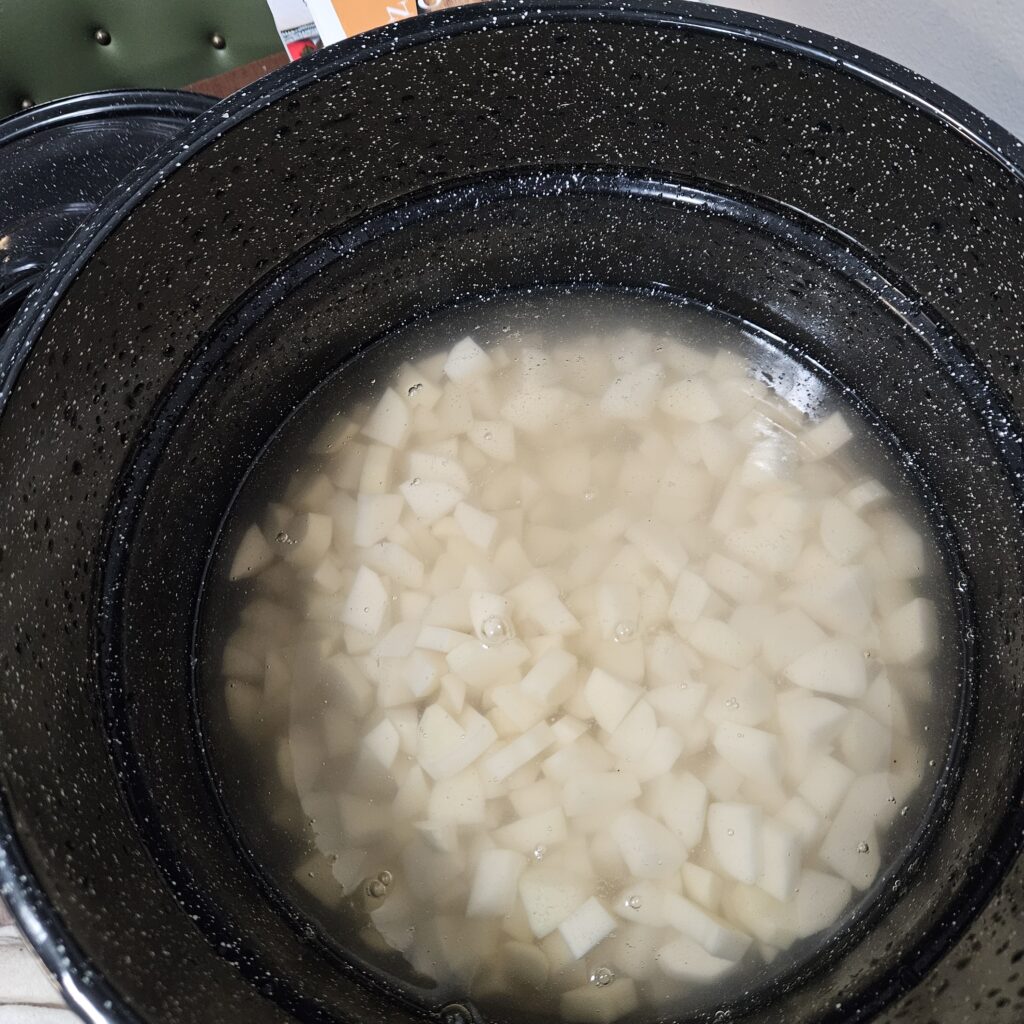
Step Three: Once your potatoes are all peeled and your fingers are pruned, chop them into chunks. Toss them back in the salt water while you keep processing. The salt water helps draw out the starch from the potatoes, which will help them cook better and keep your jars from getting cloudy.

(Second side note: This is 10 pounds. If you’re gonna do it, make it worth it. Please do not go through all this trouble for 4 potatoes.)
Step Four: Fill your jars. This is where you get to get a little creative. You can choose between pint jars or quart, dry packing or not, water or broth. You can’t really run wild, but you can get a good trot. Choose your jar and method, and fill your jars.
I elected for quart jars and poured chicken broth over my potatoes. When you’re ready, load up your canner into 5 quarts of water and a splash of vinegar (keeps the jars from clouding up). Now this is important: you have to pressure can potatoes because they don’t have enough acid for a water bath. Also important: cold contents into cold jars & canner / hot contents into hot jars & canner. My broth was cold; so, I used cold jars into a cold canner.
Step Five: Ok — here we go — With your canner loaded & locked, turn the heat on and let it come up to a temperature to where it starts to vent. What this means is that steam comes out of the spout. You want a steady vent for 10 minutes. After 10 minutes of a steady vent, put on your cap/weight and bring your pressure up to your PSI. Here in Kentucky, I use a 5# weight to get to 10-11 pounds of pressure.
Step Six: Let it ride. You’ll need to make sure you look up the cooking time for whatever you decided to do. For example, a raw pack only has to cook for 20 minutes, but since I loaded mine in chicken broth, I had to do 40.
I’m tired of writing steps: At this point, you should be halfway through LotR, at least, and your timer should be done. Turn off the burner and goooo awaaayyyy. Do not let yourself be tempted to open the canner before it has a) come down to 0 pressure AND b) when you’ve taken the weight off, it stops hissing.
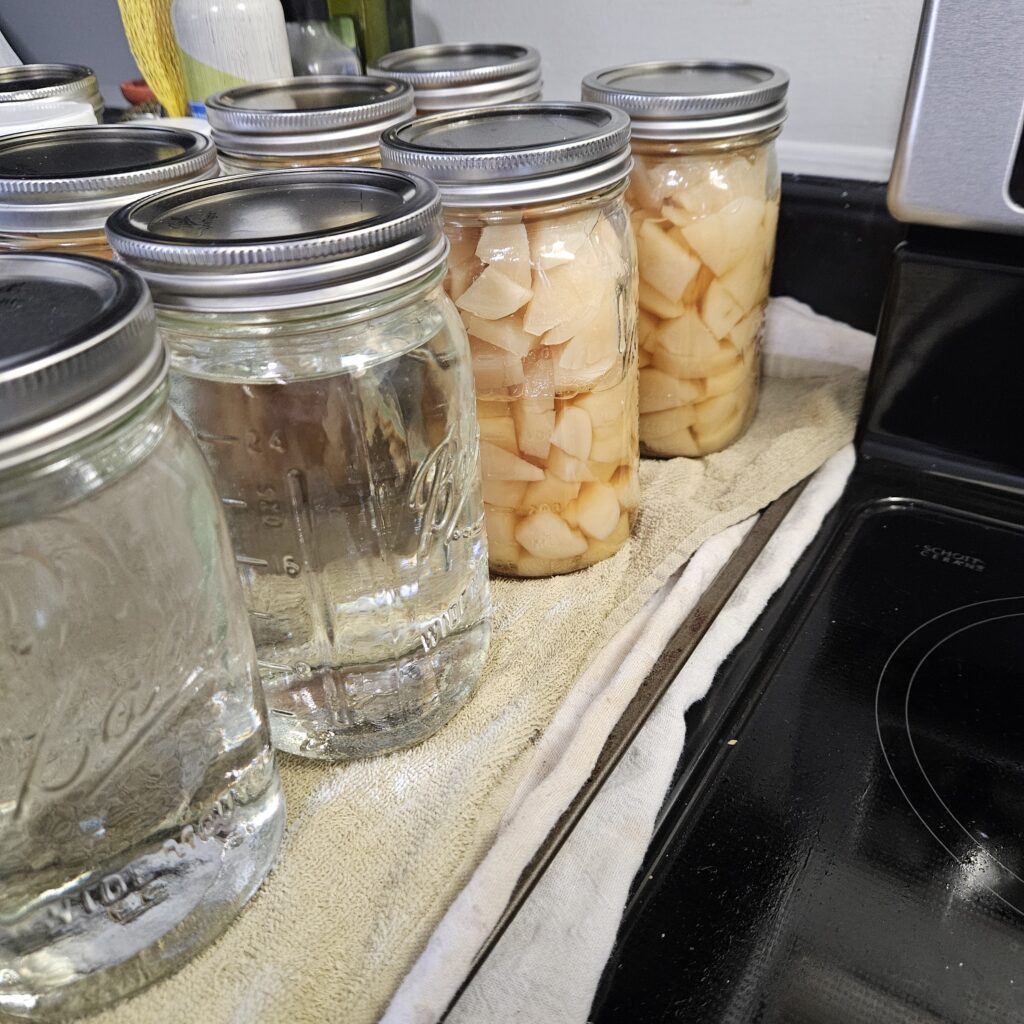
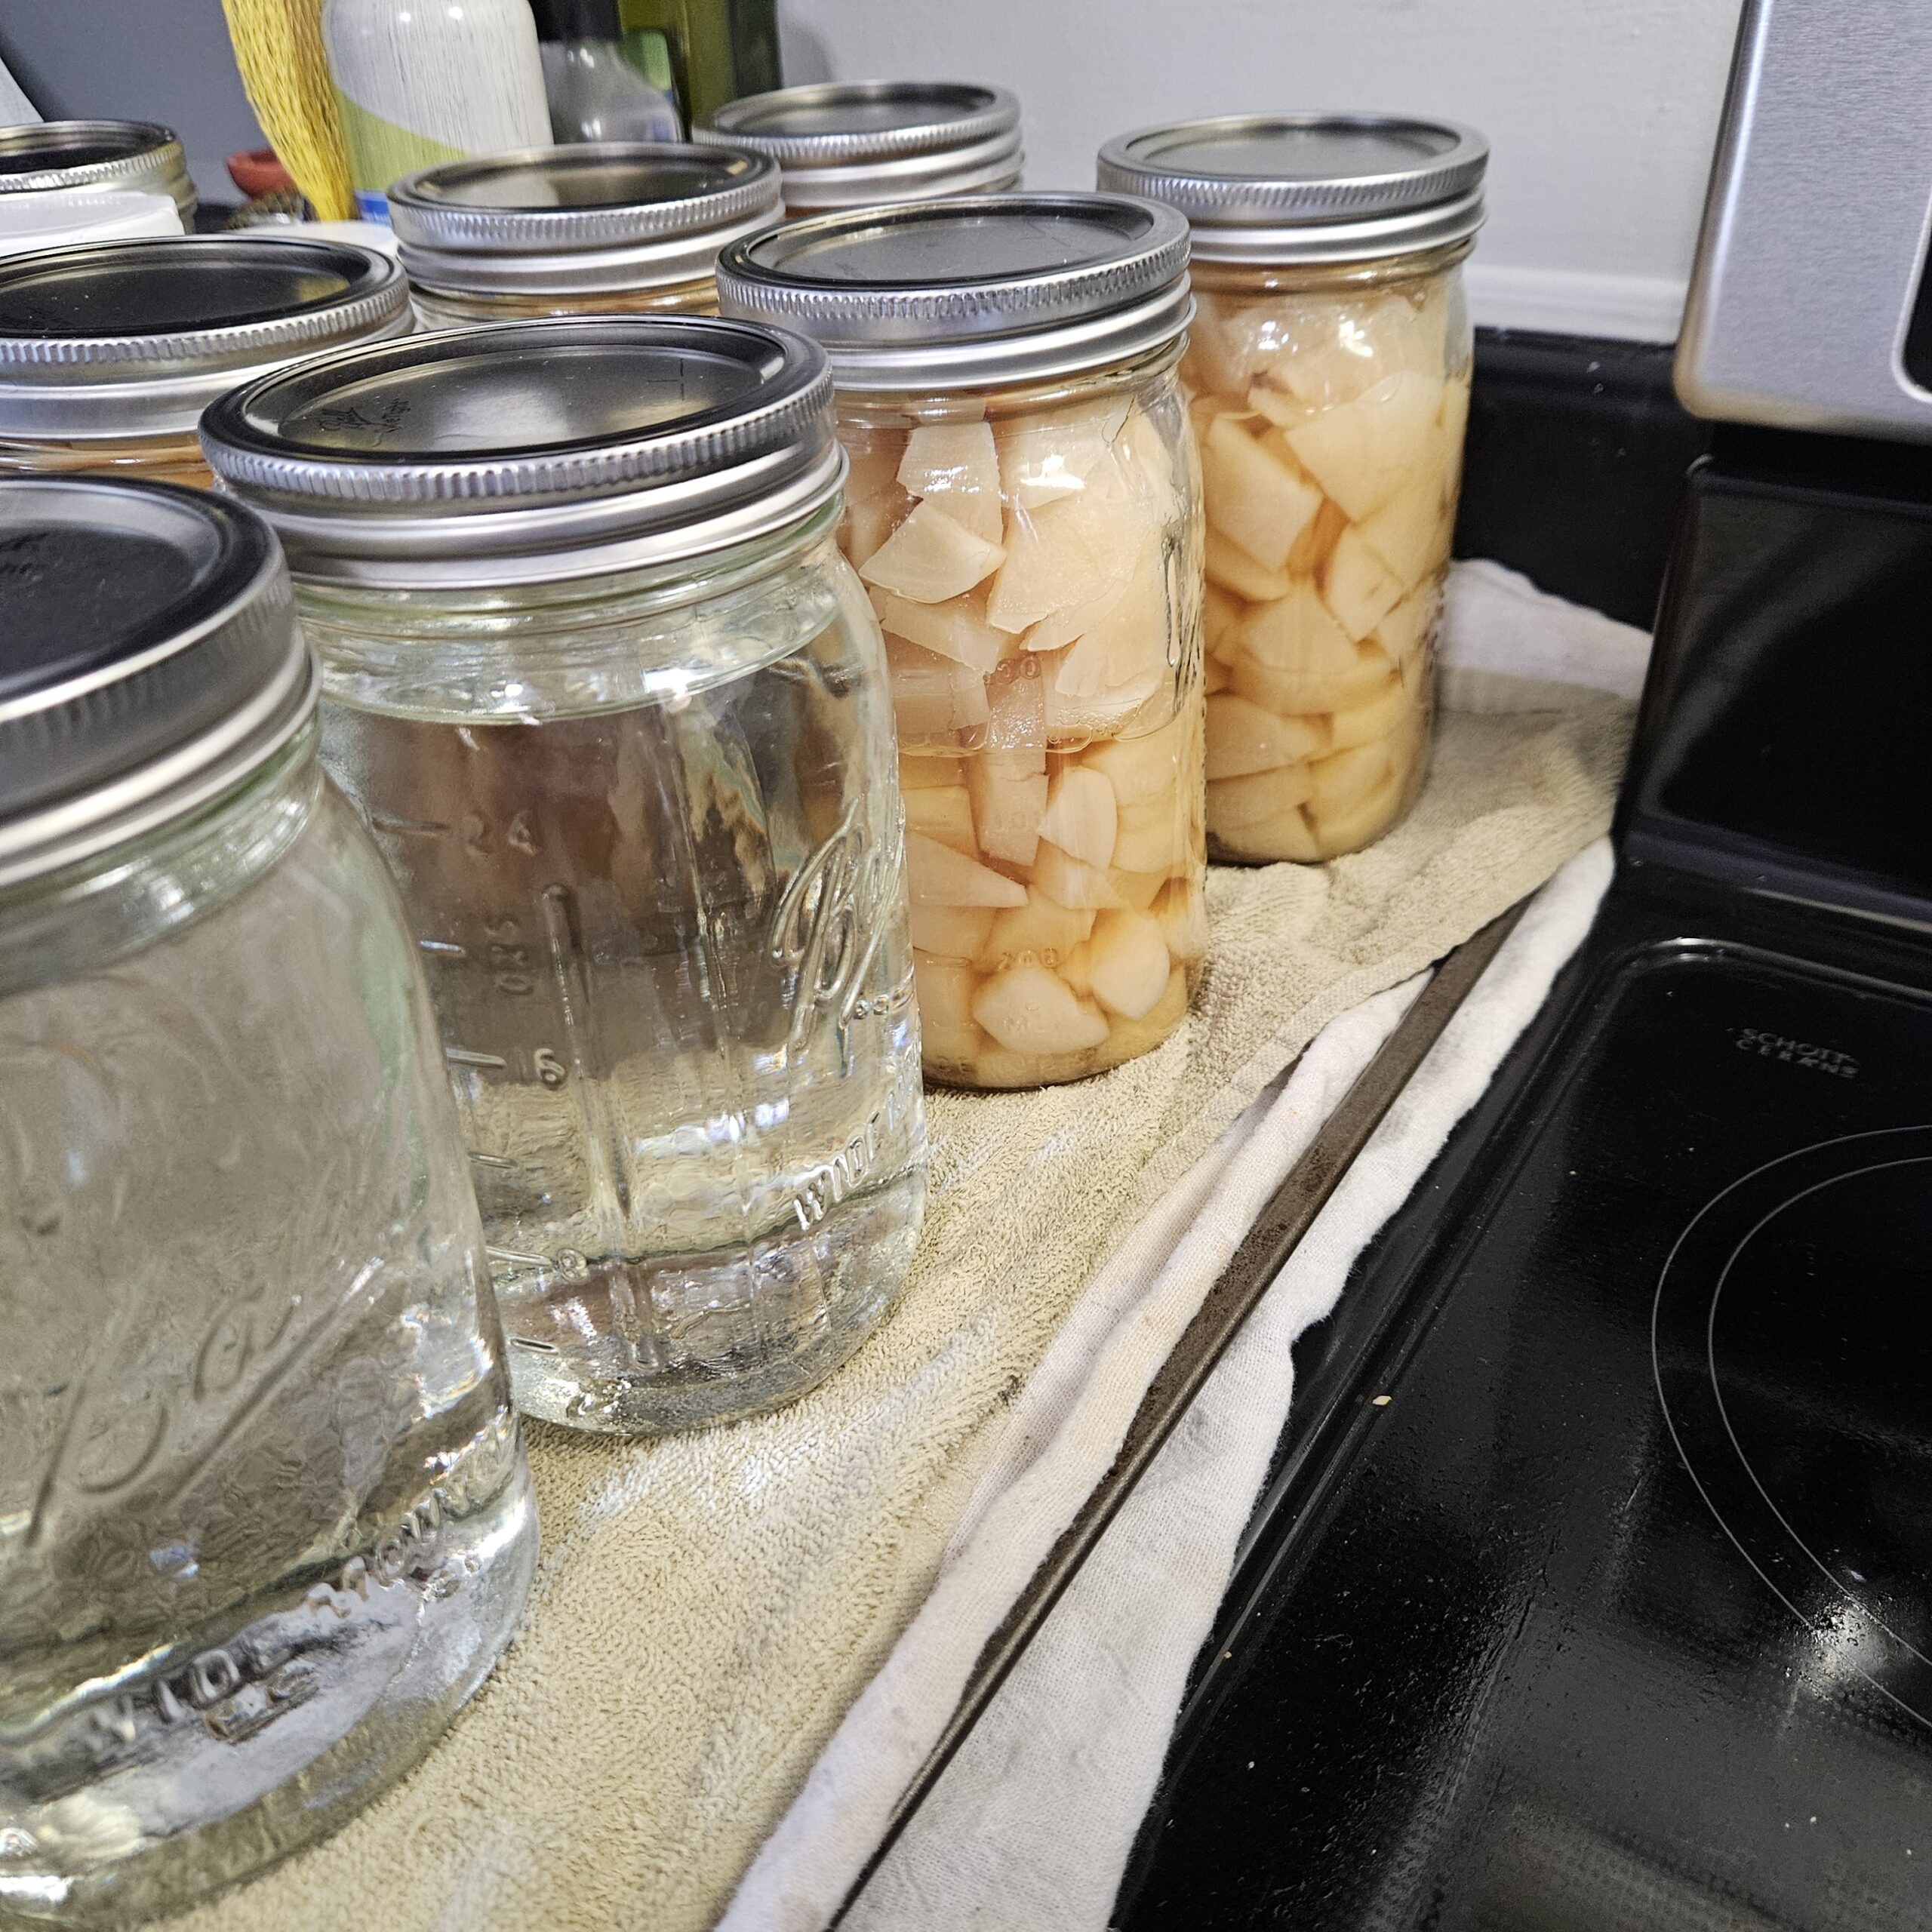
When you’re ready to open the canner, open the lid AWAY from your face. Potato facials are not the newest rage. At the end of the movie, you should have something like this:

I ended up with 5 quarts of potatoes and 2 quarts of distilled water. You should never have empty space in your canner. So, fill up some jars and make yourself some water.
Now, make yourself a drink and congratulate yourself for canning potatoes without blowing up the house. That’s what I’m gonna do. 😉

